How to Ship Small Plants: A Complete Step-by-Step Guide
Thomas ReddingShare
Introduction
Small plants are the most beginner-friendly category to ship — they're lightweight, fit in standard box sizes, and are generally more resilient than their larger counterparts. But "small" doesn't mean "easy to ignore." Small plants still need proper preparation, secure packing, and the right materials to arrive healthy and looking their best.
This guide covers everything you need to know about shipping small plants, including what qualifies as a small plant, the best packing methods, carrier options, and tips for keeping costs low.
What Counts as a Small Plant?
For shipping purposes, a small plant is generally defined as:
- A plant in a 2" to 4" pot
- A plant that is under 8" tall (pot included)
- A plant that weighs under 3 lbs when packed
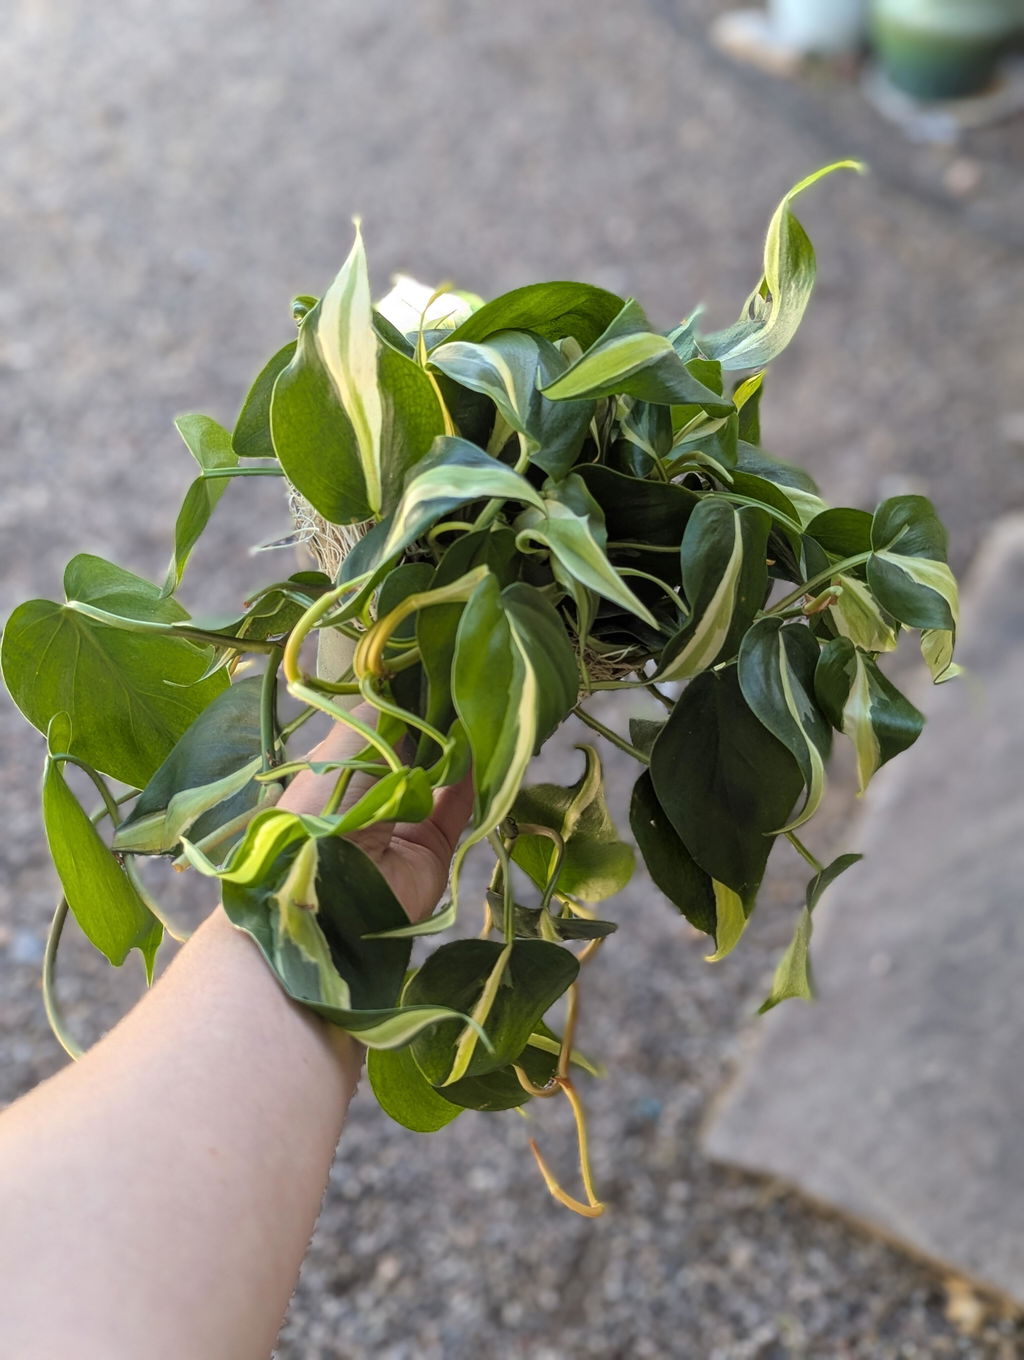
- Examples: small succulents, 2–4" tropical starts, rooted cuttings, air plants, small cacti, seedlings, small pothos, small philodendron cuttings
Materials You'll Need
- Small corrugated cardboard box (6x6x6" to 10x10x10" depending on plant size)
- Bubble wrap
- Packing paper or kraft paper
- Plastic wrap or Press'n Seal
- Small plastic bags
- Packing tape (heavy-duty)
- Rubber bands
- Tissue paper
- "Live Plants" and "Fragile" labels
- Sphagnum moss (for bare-root or cutting shipments)
- Care card
Option A: Shipping Small Potted Plants
This method is for small plants that are staying in their pots during shipping.
Step 1: Water and Prepare
- Water the plant lightly 24–48 hours before shipping (skip for succulents and cacti).
- Allow the pot to drain completely — never pack a dripping pot.
- Remove any dead leaves or damaged stems.
- Inspect for pests and treat if necessary before shipping.
Step 2: Secure the Soil
- Tape all drainage holes on the bottom of the pot with packing tape.
- Cover the soil surface with plastic wrap, pressing it snugly around the stem.
- Pull the plastic wrap down the sides of the pot and secure with a rubber band.
- Place the pot in a small plastic bag and tie it around the stem.
Step 3: Wrap the Pot
- Cut a piece of bubble wrap large enough to wrap around the pot 2–3 times.
- Wrap the bubble wrap around the pot (not the plant) and secure with tape.
- The pot should feel well-cushioned and protected.
Step 4: Protect the Foliage
- For plants with delicate leaves, loosely wrap the foliage in tissue paper.
- Don't wrap tightly — just enough to protect leaves from rubbing against the box.
- For very small plants with sturdy leaves, tissue paper may not be necessary.
Step 5: Pack the Box
- Place 2–3" of crumpled packing paper at the bottom of the box.
- Set the wrapped pot in the center of the box.
- Fill all sides with crumpled paper, packing firmly so the pot cannot shift.
- Fill above the pot level with paper, gently supporting the foliage.
- The box should be full to within 1" of the top.
Step 6: Shake Test and Seal
- Close the box flaps and shake gently. There should be zero movement.
- If you feel movement, add more packing paper and repeat.
- Seal the box with the H-taping method on top and bottom.
- Apply all labels: shipping label, "Live Plants," "Fragile," "This Side Up."
Option B: Shipping Small Plants Bare-Root
Shipping small plants bare-root (without soil) is often the best option for small tropicals, cuttings, and plants that travel well without their pot. It reduces weight, eliminates soil mess, and often results in healthier arrivals.
Step 1: Remove from Pot
- Gently remove the plant from its pot.
- Shake or brush away as much soil as possible from the roots.
- Inspect roots and trim any damaged or rotted ones with clean scissors.
Step 2: Wrap the Roots in Sphagnum Moss
- Rehydrate sphagnum moss and squeeze out excess water until barely damp.
- Place a generous handful of moss on a flat surface.
- Center the root ball on the moss and fold the moss up and around the roots.
- Wrap the moss bundle with plastic wrap to hold it in place and retain moisture.
- Secure with a rubber band at the base of the stem.
Step 3: Wrap the Plant
- Loosely wrap the foliage in tissue paper or kraft paper.
- For very small plants, you can wrap the entire plant (roots and foliage) in a single sheet of tissue paper, leaving the top slightly open.
Step 4: Pack the Box
- Place crumpled paper at the bottom of the box.
- Lay the wrapped plant in the box — small bare-root plants can be laid on their side.
- Fill all void space with crumpled paper so the plant cannot shift.
- The plant should be completely immobile inside the box.
Step 5: Seal and Label
- Perform the shake test — zero movement required.
- Seal with H-taping method.
- Apply all labels.
Option C: Shipping Cuttings and Air Plants
Cuttings and air plants are the smallest and lightest category and can often be shipped in padded envelopes or very small boxes.
For Unrooted Cuttings:
- Allow the cut end to callous for 1–2 hours (24–48 hours for succulents).
- Wrap the cut end in a small amount of barely damp sphagnum moss.
- Wrap the moss with plastic wrap and secure with a rubber band.
- Wrap the entire cutting loosely in tissue paper.
- Place in a small box or padded envelope with crumpled paper for cushioning.
- Seal and label.
For Air Plants (Tillandsias):
- Soak the air plant in room-temperature water for 20–30 minutes 24 hours before shipping.
- Shake off all excess water and allow to dry completely — upside down if possible.
- Never ship a wet air plant — trapped moisture causes rapid rot.
- Wrap the dry air plant loosely in tissue paper.
- Place in a small box with crumpled paper cushioning on all sides.
- Seal and label.
Best Box Sizes for Small Plants
- 6x6x6": Air plants, small cuttings, 2" succulent pots
- 8x8x8": Small succulents (2–4" pots), small cacti, rooted cuttings
- 10x10x10": Small tropicals (4" pots), small pothos, small philodendrons
- Padded envelope (6x10" or larger): Unrooted cuttings, air plants, very small bare-root plants
Best Carriers for Small Plants
- USPS Priority Mail: The best option for most small plant shipments. 1–3 day delivery, flat-rate box options, and competitive pricing for lightweight packages. Small flat-rate boxes ($10.40 as of 2024) are excellent for small, heavy plants like succulents.
- USPS First Class Package: Available for packages under 1 lb. Very affordable for tiny cuttings and air plants. 2–5 day delivery — only use for very hardy plants.
- UPS Ground: Good for small plants going to nearby states. Less ideal for cross-country shipments due to longer transit times.
- Shopify Shipping: Access discounted USPS, UPS, and DHL rates directly through your Shopify admin — up to 87% off retail rates.
Keeping Shipping Costs Low for Small Plants
- Ship bare-root whenever possible to reduce weight and box size.
- Use USPS flat-rate boxes for small, heavy plants — the flat rate beats calculated rates for dense packages.
- Weigh your packed box before purchasing a label and compare actual weight vs. DIM weight.
- Use the smallest box that safely fits the plant — oversized boxes increase DIM weight charges.
- Buy boxes in bulk to reduce per-unit cost.
- Use Shopify Shipping for the best available discounted rates.
Common Mistakes When Shipping Small Plants
- Using an oversized box: Small plants shift easily in large boxes. Use a snug-fitting box with adequate cushioning.
- Not securing the soil: Even small pots can spill soil. Always tape drainage holes and cover the soil surface.
- Shipping succulents with wet soil: Succulents should always be shipped dry. Wet soil causes rot very quickly in small pots.
- Skipping the shake test: Always test for movement before sealing, regardless of plant size.
- Using First Class for tropical plants: First Class can take 5+ days. Use Priority Mail for any plant that needs consistent moisture or warmth.
Pro Tips for Small Plant Shipping
- Batch your small plant shipments on the same day to streamline your packing workflow.
- Pre-cut bubble wrap and plastic wrap to standard sizes for your most common pot sizes to speed up packing.
- Keep a stock of padded envelopes for cutting shipments — they're faster to pack and cheaper to ship than boxes.
- Always include a care card with every shipment, no matter how small the plant.
- Photograph every packed box before sealing for your records in case of damage claims.